
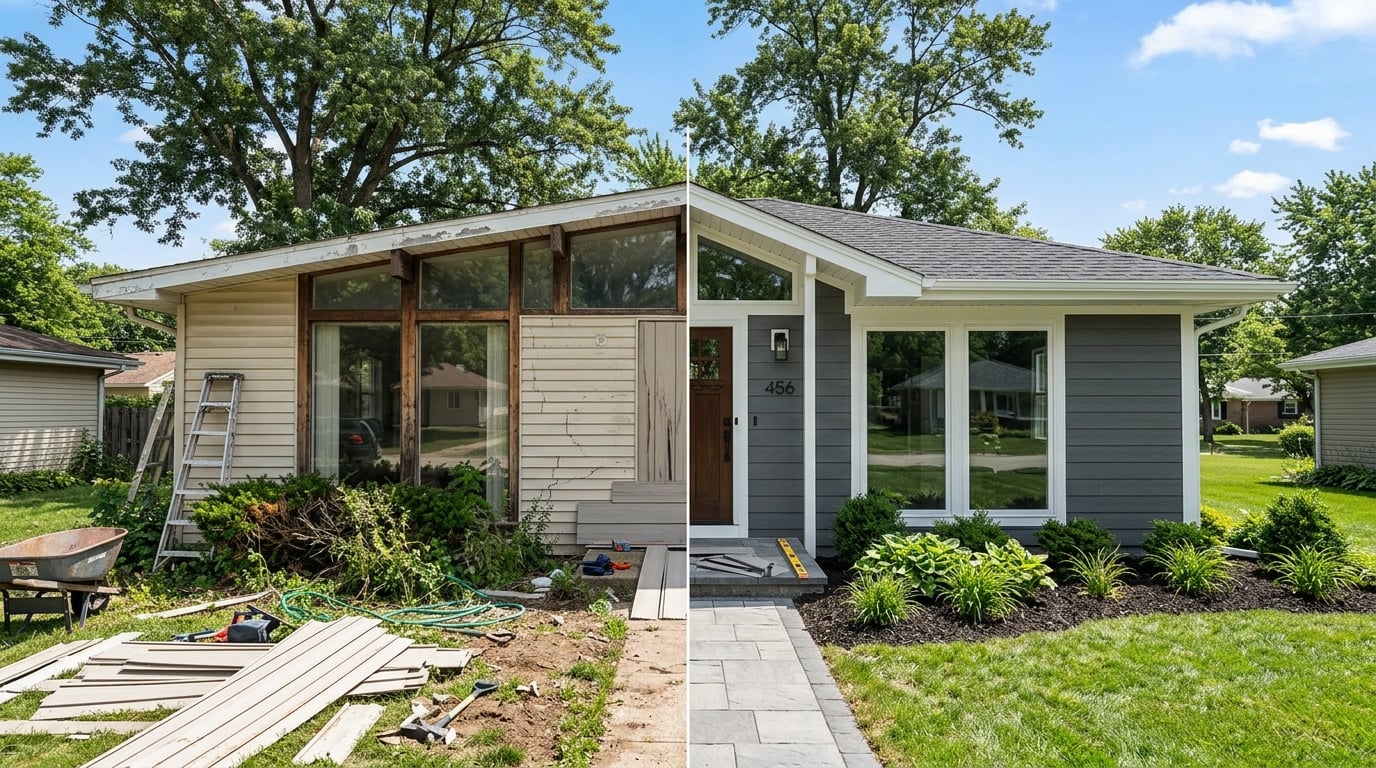
Stepping across the threshold of an older house with a fresh set of keys is a memorable milestone for any American homeowner. Established residences possess distinct character, architectural details, and mature landscaping that modern tract developments rarely match. However, purchasing a home with history also means taking ownership of decades of prior alterations, minor quirks, and deferred maintenance.
Before unpacking every cardboard box and placing furniture against the walls, owners encounter a brief, highly advantageous window of opportunity. Navigating an unoccupied interior makes it far easier to examine primary systems, carry out preventative repairs, and create a sound baseline for daily comfort. Handling these essential tasks early averts frustrating surprises and lets your household settle in smoothly.
Evaluating Core Utilities and Structural Reliability
Every older dwelling features an operational backbone shaped by its electrical, plumbing, and heating infrastructure. The moment you take possession, prioritize locating the main water valve, gas shutoff, and circuit breaker panel. Knowing how to reach and operate these mechanical controls quickly is vital whenever unexpected leaks or electrical issues arise.
Examine the main electrical service panel for outdated wiring or unmapped circuits. In vintage properties, breaker boxes frequently reflect piecemeal expansions added across several decades. Testing and labeling every breaker removes guesswork during future projects. For the plumbing system, inspect beneath kitchen and bathroom sinks for telltale moisture, corroded pipe fittings, or subtle water staining that points to past leaks.
Property owners looking for comprehensive guidance on home safety, building stability, and foundation integrity can consult homesmoving.org for reliable recommendations on reinforcing residential systems. Confirming that your structural framing, attic joists, and primary utility connections remain sound delivers invaluable peace of mind before you begin aesthetic renovations.
Securing Exterior Doors, Windows, and Entryways
Physical security and weatherization should always be addressed together in mature houses. Ground-floor entry points represent the first line of defense against exterior moisture, winter drafts, and unwanted visitors. As timber frames naturally settle over time, latch bolts slip out of alignment and perimeter weatherstripping degrades.
Plan to replace all exterior deadbolts as soon as you finalize the purchase. There is simply no reliable way to verify how many spare keys remain in circulation from past contractors or tenants. While mounting fresh hardware, replace the short standard strike plate screws with long, heavy-duty screws that anchor securely into the structural wall studs framing the door opening. This small step substantially strengthens the door against forced entry.
Next, inspect the window units throughout each room. Check for cracked glazing putty around traditional wooden sashes or crumbling exterior caulking around newer vinyl frames. Applying fresh, paintable sealant blocks air infiltration, dampens outside noise, and prevents wind-driven precipitation from seeping into exterior wall cavities.
Clearing Ventilation and Managing Airborne Residue
Moving into a previously occupied house frequently stirs up fine debris left behind by earlier renovations, pet dander, and long-standing furnace buildup. When older heating and cooling equipment begins circulating air through neglected ductwork, fine particulates quickly scatter across clean floors and polished countertops.
Vacuuming out supply registers and sliding a clean air filter into the furnace return should occur before moving your furniture inside. If previous occupants carried out hasty drywall patches or floor repairs before putting the property on the market, lingering gypsum dust can coat ceiling fans, window sills, and closet corners.
Adopting strategic methods for managing persistent household dust will keep your interior spaces pristine and simplify everyday sweeping routines. Practical measures like wiping down flat surfaces with damp microfiber cloths, operating portable air filtration units, and sealing floor vent perimeters help preserve healthy indoor air while you paint and decorate.
Equipping Your Workshop and Planning Projects
Handling straightforward home upgrades requires a dependable set of tools and thoughtful project planning. While extensive electrical rewiring or complex plumbing reconfigurations should always be left to licensed professionals, minor updates like replacing light fixtures, repairing drywall dents, and installing shelving are entirely manageable for motivated homeowners.
Before buying materials for your initial weekend projects, take time to study proper installation methods and safety practices. Educational platforms like DIY Television provide helpful overviews of remodeling techniques, equipment selection, and practical project planning. Learning how to organize a job step by step helps prevent common mistakes and saves multiple trips to the hardware store.
Keep a primary toolbox readily accessible on the main living floor. A quality tape measure, magnetic stud finder, cordless drill, multi-bit driver set, torpedo level, utility knife, and sturdy step stool will support almost every introductory task. Always keep essential safety gear on hand as well, including clear eye protection, work gloves, and dust masks.
Establishing an Orderly Renovation Schedule
A frequent stumbling block for new homeowners is trying to modernize multiple rooms at the same time. Attempting to strip wallpaper, repaint trims, and install new plumbing fixtures concurrently often produces clutter, fatigue, and unfinished rooms. Designing a phased renovation schedule keeps your efforts organized and rewarding.
Structure your home improvement sequence logically to prevent newly completed work from getting damaged during subsequent steps:
- Resolve exterior water intrusion, roof concerns, and gutter drainage before starting interior renovations.
- Finish messy drywall patching, ceiling texture removal, and wall sanding before refinishing any flooring.
- Apply interior wall and ceiling paint while rooms remain completely empty of furniture.
- Update overhead lighting fixtures and electrical receptacles room by room to maintain safe working light.
- Mount curtain rods, closet organization systems, and cabinet hardware as final finishing touches.
Working methodically down this progression allows you to give each improvement project your undivided attention. Living in the home for several weeks before initiating major aesthetic updates also proves beneficial, as observing natural daylight patterns across different seasons often refines your color choices and furniture layouts.
Cultivating Consistent Home Maintenance Habits
An older home is a living structure that rewards steady, attentive stewardship. Rather than waiting for a slow plumbing drip or loose roof shingle to trigger a stressful emergency, build a habit of seasonal walkthroughs. Inspect the perimeter foundation after heavy rainfall to confirm that water drains safely away from the basement walls.
Establish a central binder or digital folder to organize equipment manuals, paint color codes, permits, and repair receipts. Recording filter dimensions, shutoff locations, and trusted service contacts helps keep household operations running smoothly. Approaching your property with care from move-in day preserves its historic character while creating an enduring, comfortable haven for years to come.